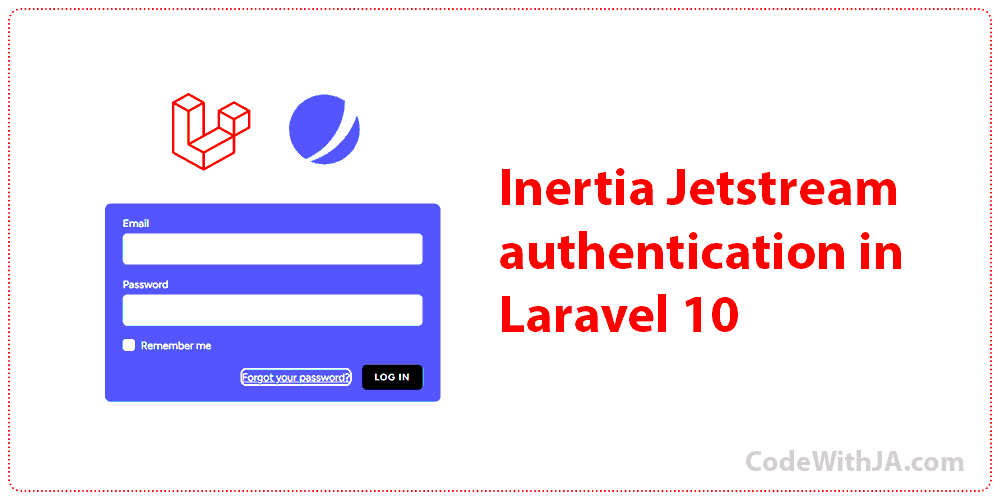
In this tech topic, I am going to write about inertia jetstream authentication in laravel 10.
So, let’s first look at what Inertia is. What it came from? What is the base of this awesome package?
Inertia is a laravel package that is used for authentication, team management, two-factor authentication, and account management in laravel. Which was created by Jetstream which uses Vue.js for its templating language. This package is useful for projects that will be developed via the Vue.js framework.
In this article, we will see how to install and use Inertia Jetstream authentication in laravel 10. I will explain every step which needs to be explained.
Step 1: Install Laravel 10
To implement Inertia Jetstream authentication in laravel 10, we need to install laravel 10 first.
Use the below command to install a fresh project of laravel 10
composer create-project laravel/laravel inertia_auth --prefer-distStep 2: Install Inertia
To use Inertia authentication features we need to install the Jetstream package in laravel 10.
Use this composer command to install the Jetstream package in your laravel 10 fresh project.
composer require laravel/jetstreamStep 3: Create Inertia Auth
At this step, the Jetstream will create some migrations, views, and many more files that inertia uses for authentications. You can see the files they create or changes from the installation log.
Use the below artisan command to install Inertia auth files.
php artisan jetstream:install inertia --teamsStep 4: Install Node.js Packages
As you know, Jetstream uses Vue JS and Vue JS is a JavaScript framework and uses Node Js environment.
To install Node JS packages use bellow command
npm install
The above command just downloads the node js package, to run the package using below command
npm run dev
Step 5: Set Up Database Configurations
Create a database by the name of inertia_auth and open .env file then paste the below codes into it.
DB_CONNECTION=mysql
DB_HOST=127.0.0.1
DB_PORT=3306
DB_DATABASE=inertia_auth
DB_USERNAME=root
DB_PASSWORD=
Step 6: Migrate Database Migrations
Now let’s migrate our laravel 10 migration files and Inertia migration files using below command
php artisan migrate
Step 7: Enabling Jetstream Features
Jetstream provides some configurations such as registration, reset passwords, email verification, update profile information, update passwords, and two-factor authentication. Which are configurable, by default some of them are disabled, if you want to use all the features, the jetstream features in “config/fortify.php” should look like below.
config/fortify.php
....
 'features' => [
       Features::registration(),
       Features::resetPasswords(),
       Features::emailVerification(),
       Features::updateProfileInformation(),
       Features::updatePasswords(),
       Features::twoFactorAuthentication(),
   ],
...
Also, the features in “config/jetstream.php” should look like this.
...
 'features' => [
       Features::profilePhotos(),
       Features::api(),
       Features::teams(),
   ],
...
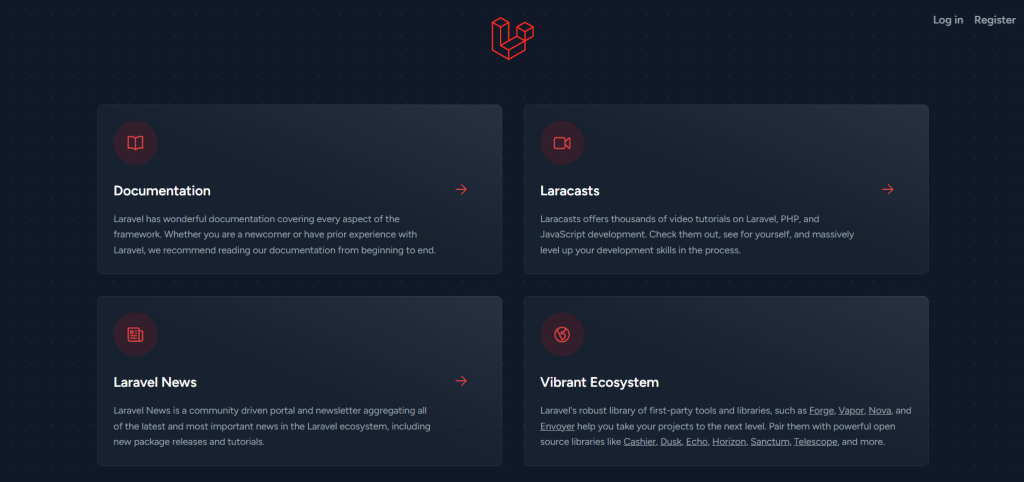
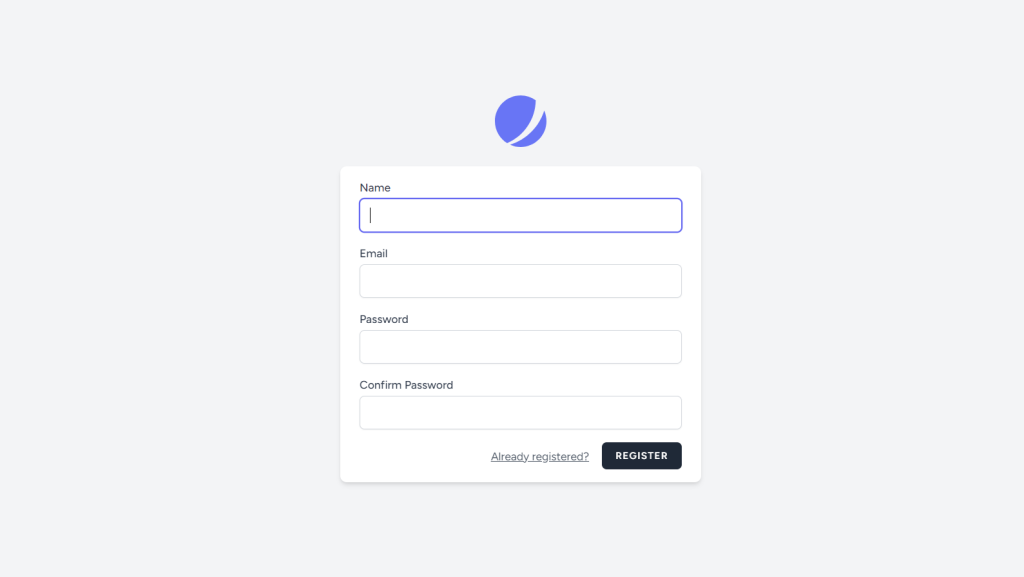
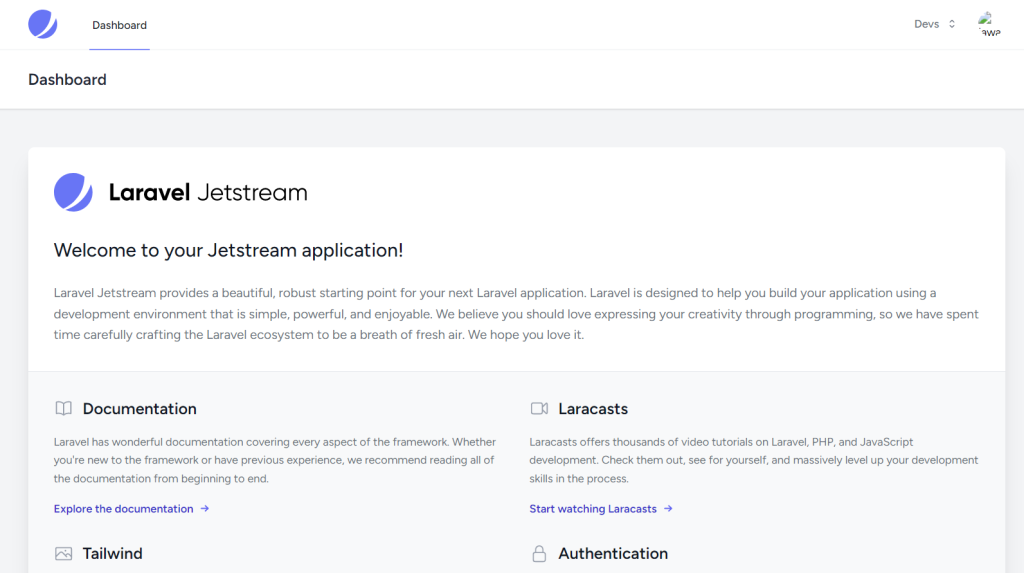
If you followed me in every step, by running your laravel project and visiting the below URL you will see the result which you wanted.
http://localhost:8000/
Not to forget to start your npm dev environment and laravel 10 virtual server for development
npm run dev
&
php artisan serve
Run each in a separate terminal/CLI to see the result.
Find out laravel 10 CRUD here
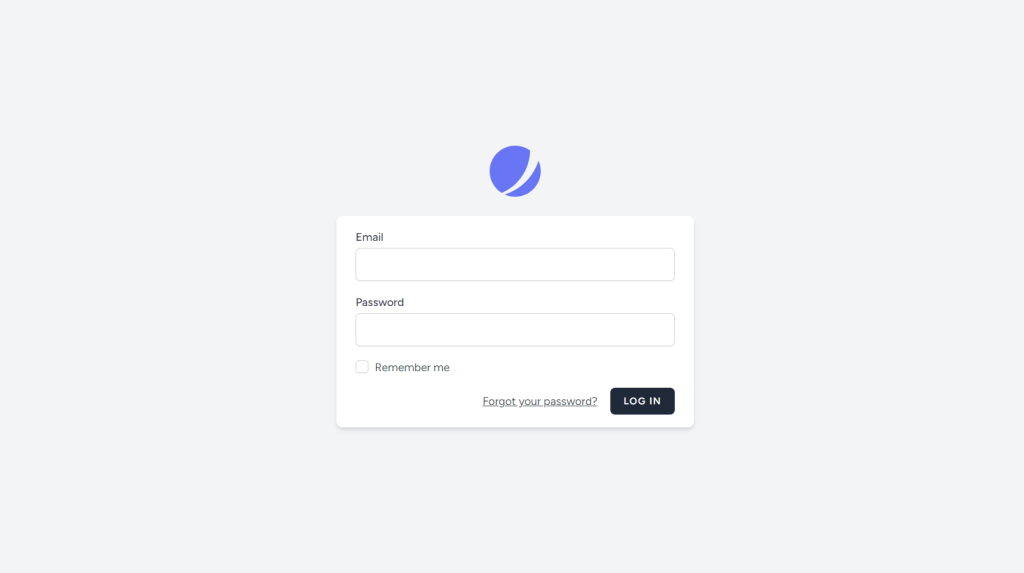
Login Page
